How it works
From PDF to Excel in four steps.
A walkthrough of every part of DocExtract — what it does, when to use it, and the recommended end-to-end workflow. Session-only, table-aware, human-in-the-loop.
Overview
DocExtract turns a PDF or image into clean Markdown and a multi-sheet Excel file. Everything runs in your browser session — your file is sent to the AI provider only for the extraction call itself, and nothing is stored on our servers.
How to use it
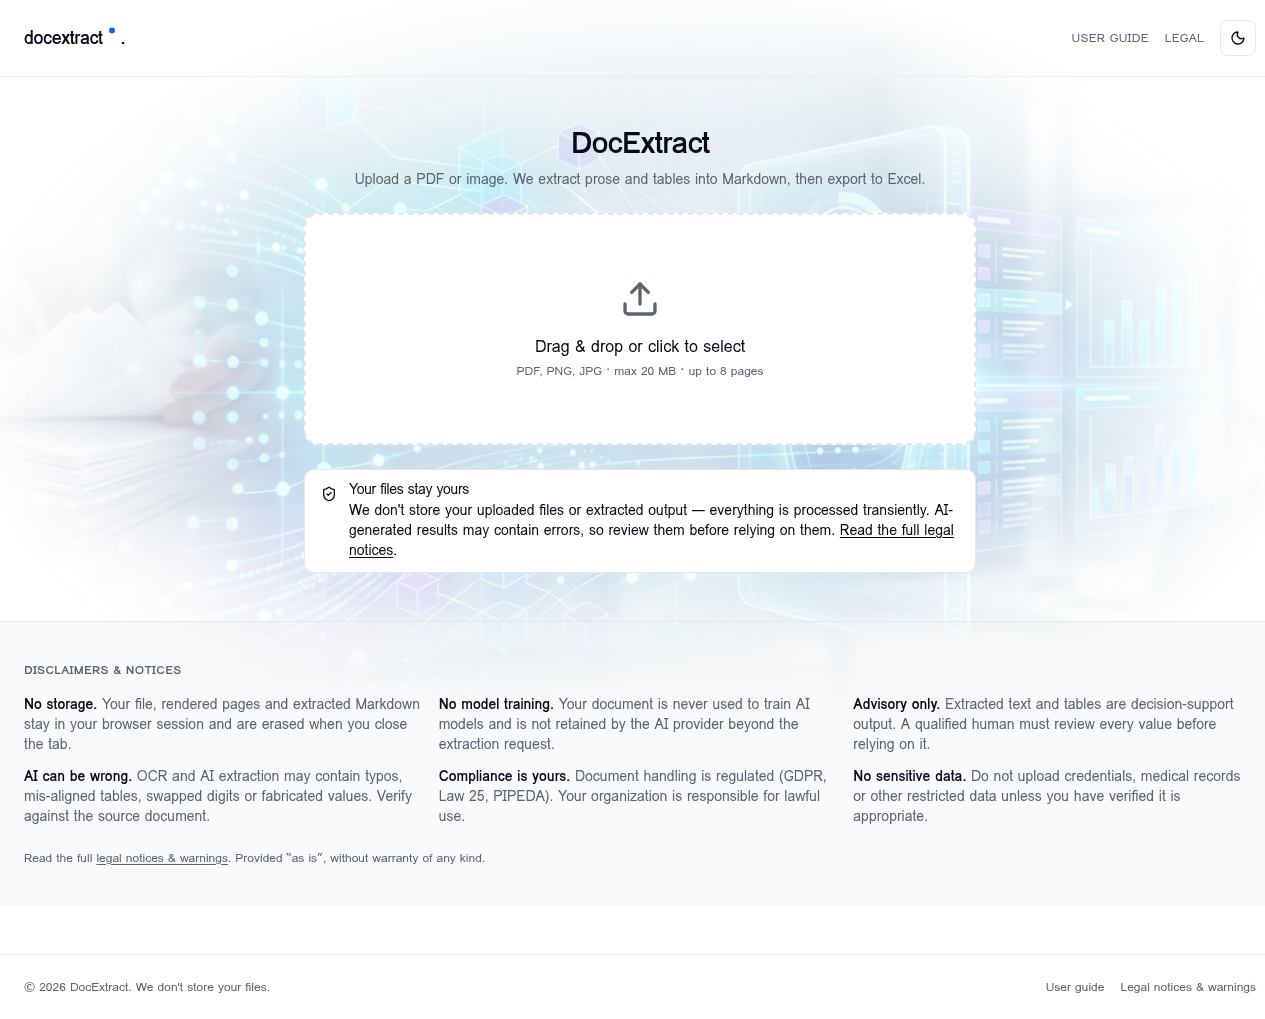
- Upload a PDF or image (step 1).
- Watch each page render and get extracted into Markdown (step 2).
- Review the Markdown side-by-side with your document and edit anything that needs a fix (step 3).
- Export the result as Markdown (.md) or Excel (.xlsx) — one sheet per table.
Tip — Closing the tab erases the file, the rendered pages and the extracted text. There is no account, no history and no server-side copy.
1.Upload a document
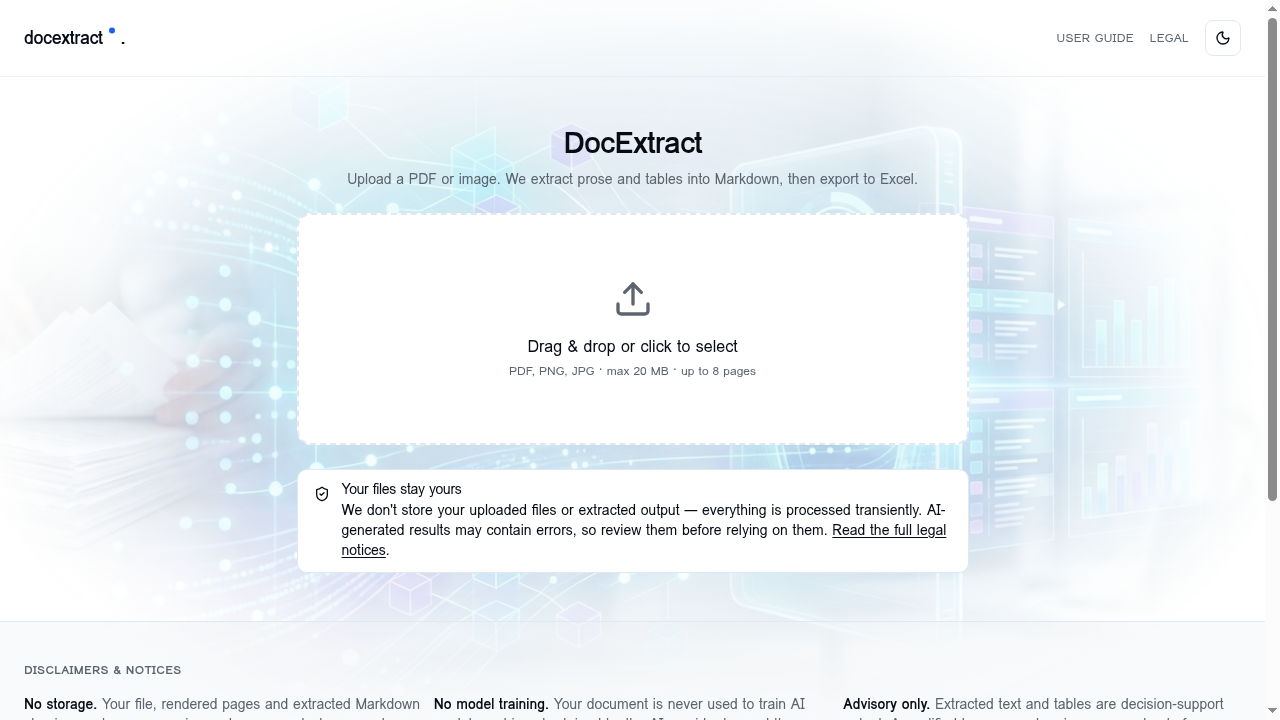
Drag & drop a file onto the dashed area, or click it to open the file picker. DocExtract reads PDFs and images and prepares them for extraction locally before any AI call.
How to use it
- Supported formats: PDF, PNG, JPG.
- Maximum file size: 20 MB.
- Maximum length: 8 pages per PDF — split longer documents into smaller files.
- Click Extract content to start the pipeline. Use the × button to swap in a different file before extracting.
Tip — For best results, upload high-resolution scans. Faint, skewed or photocopied pages can confuse OCR and produce noisy tables.
2.Rendering & extraction
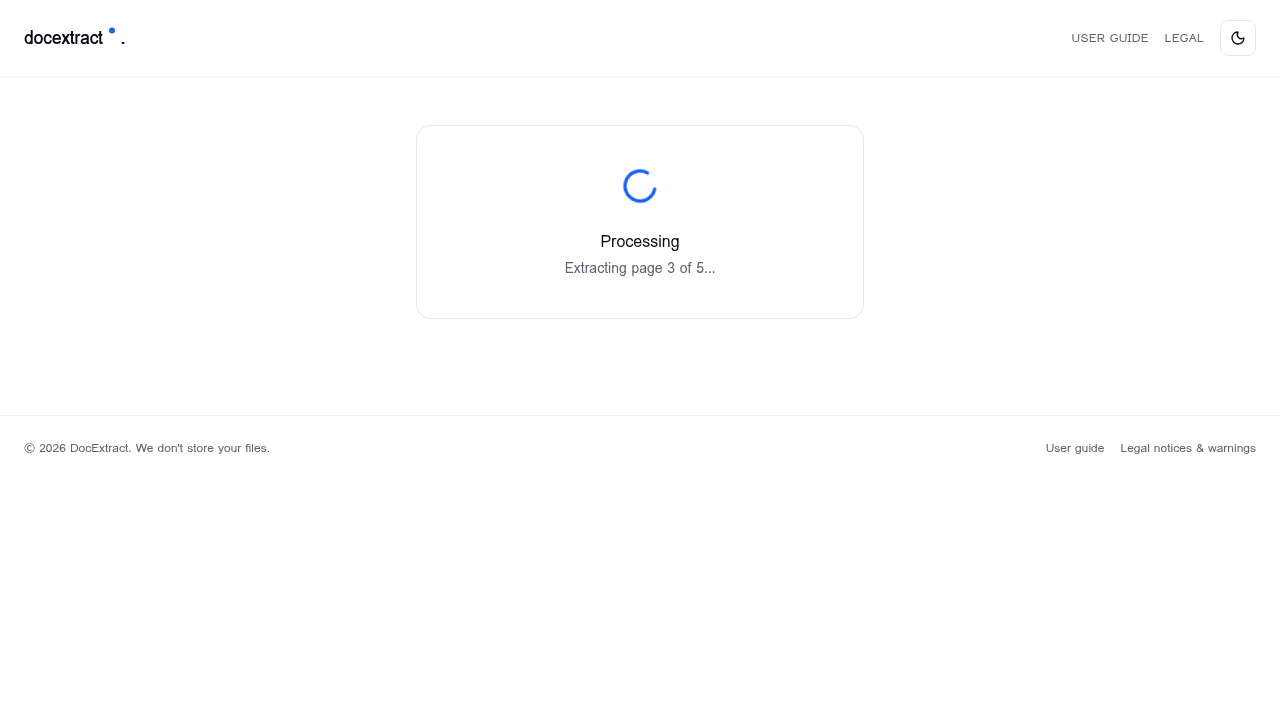
Once you click Extract content, DocExtract renders each page to an image in your browser, then sends those page images one by one to the AI provider for text and table extraction.
How to use it
- Rendering — each PDF page is rasterized locally; you'll see a progress count (page X of Y).
- Extracting — every page is sent to the AI with a mixed prose-and-tables prompt, so you keep surrounding text around tables.
- Building — pages are stitched into a single Markdown document, separated by horizontal rules.
- If anything fails (timeout, oversized file, network error), you'll see a clear message with Retry and Start over buttons.
Tip — Extraction time scales with page count and table density. A typical one-page invoice takes a few seconds; a dense 8-page report can take a minute.
3.Review & edit the Markdown
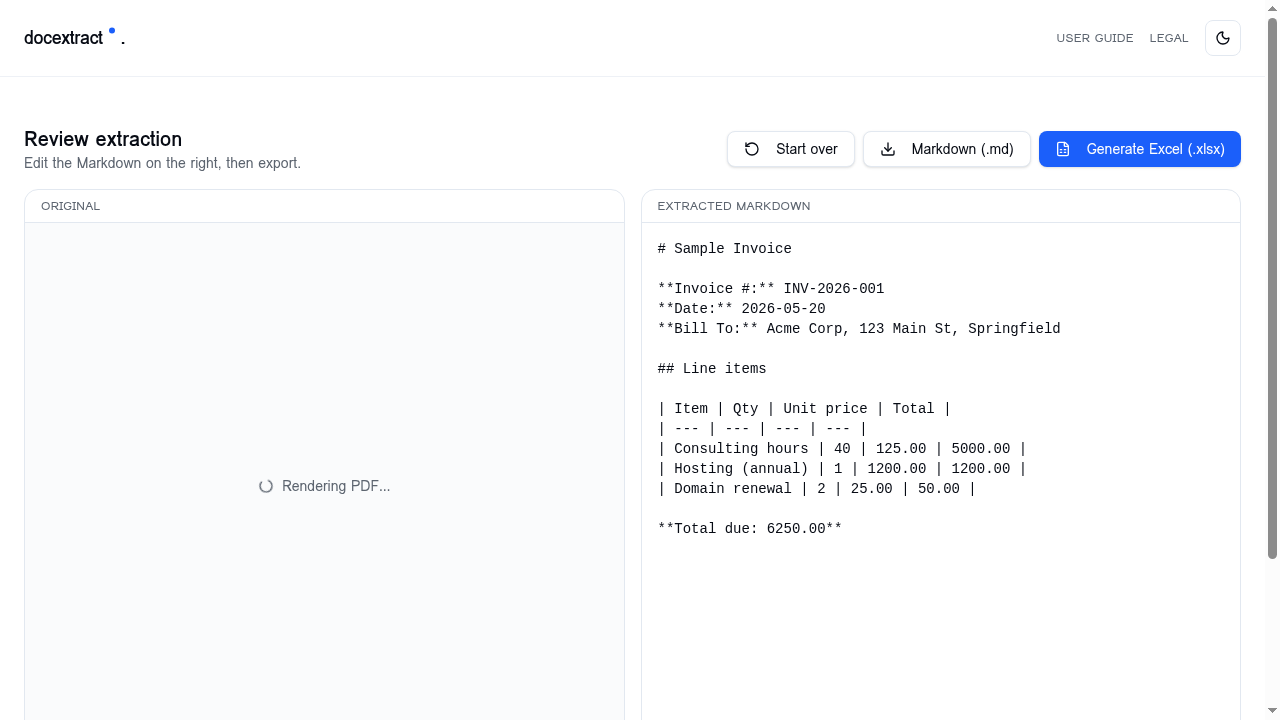
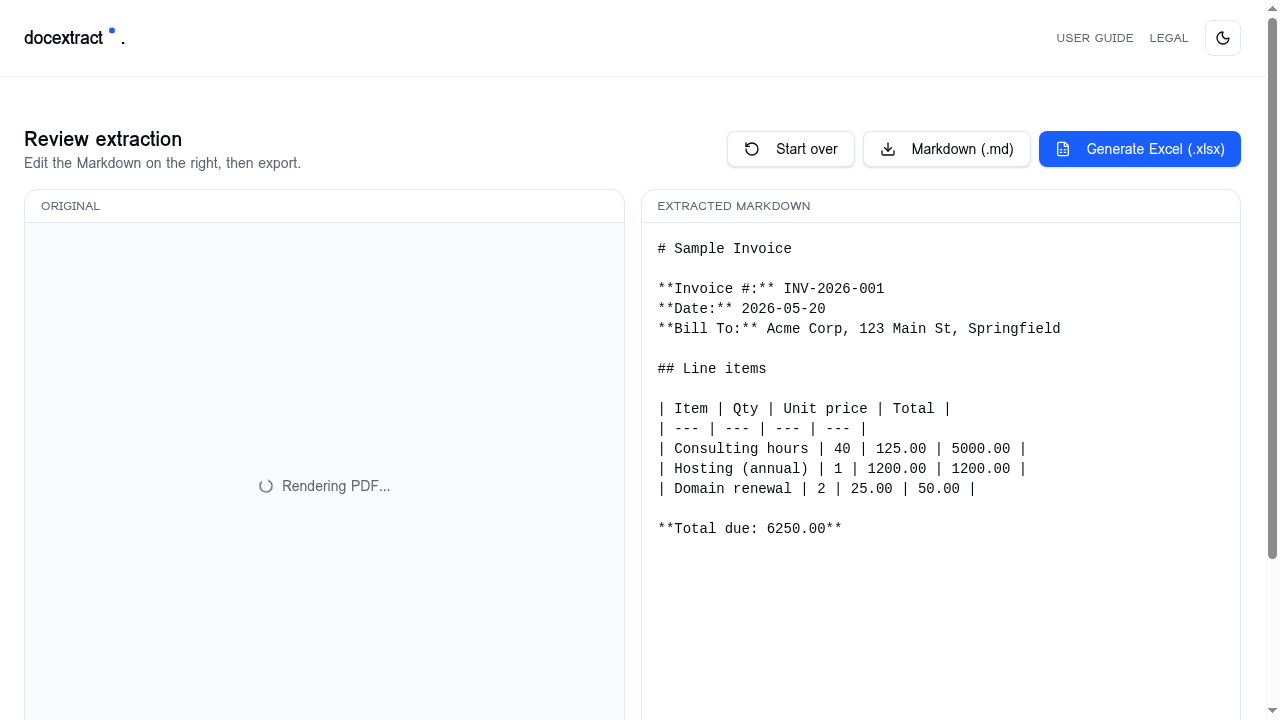
When extraction finishes, you land in the review screen. The original document is on the left, the editable Markdown is on the right. AI output is never perfect — this is where you verify every number and heading before exporting.
How to use it
- Scroll the source pane to compare each page with the extracted Markdown.
- Edit the Markdown directly: fix typos, merge cells, adjust table headers, remove duplicated lines.
- Tables use standard pipe-table syntax — each `| col | col |` block becomes its own sheet on export.
- Use Start over to clear the session and process a different file.
Tip — Pay extra attention to digits, decimal separators and currency symbols. OCR + AI can quietly swap a 0 for an O or drop a thousands separator.
4.Export to Markdown or Excel
When the Markdown looks right, export it. Downloads happen directly from your browser — the file never round-trips through our servers.
How to use it
- Markdown (.md) — saves the full extracted document, including headings, prose and pipe tables.
- Generate Excel (.xlsx) — saves every pipe table to its own worksheet, named in document order.
- Re-export as many times as you want; each click regenerates from the current Markdown in the editor.
Tip — If a table didn't make it into Excel, it's almost always because its Markdown syntax is broken (missing header separator row, mismatched column counts). Fix it on the right and re-export.
Ready to try it?
Open the workspace and extract your first document — no signup, no storage.
Launch DocExtract